How To Lay Cobblestones on Mesh?
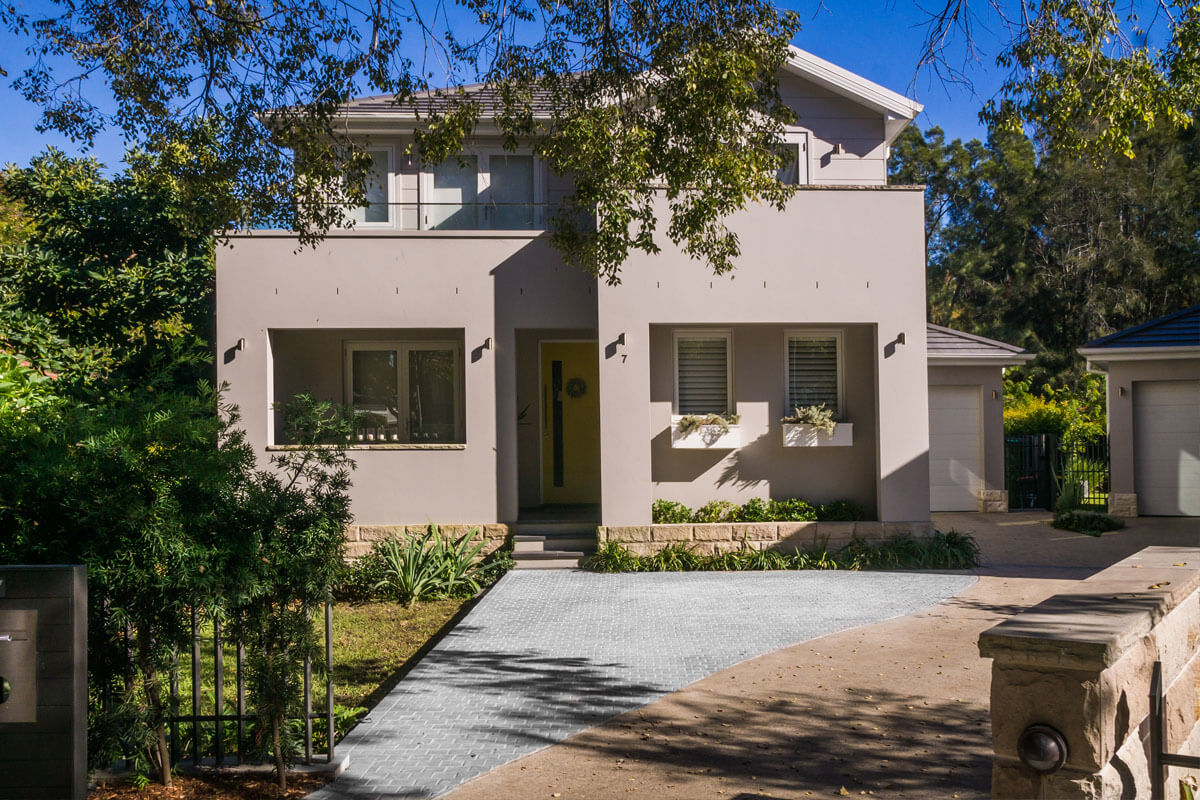
If you want to add character and a sense of antiquity to your front or backyard, cobblestones can really help achieve this aesthetic.
Now, before we jump into how to lay cobblestones on mesh, let’s first start at the beginning.
And find out …
What are Cobblestones?
Cobblestones are based on the century old roads and walkways that are prominent in Europe. Given their historical value, they bring a tremendous amount of character, timelessness and beauty to any space.
Cobble stones are typically made from dense stone materials such as granite, bluestone, quartzite and porphyry and typically have excellent grip strength. As a result of their superb genetic makeup, they serve as a long-lasting paving solution.
With a wide selection of designs and materials, cobblestones can easily be used to create stunning outdoor spaces.

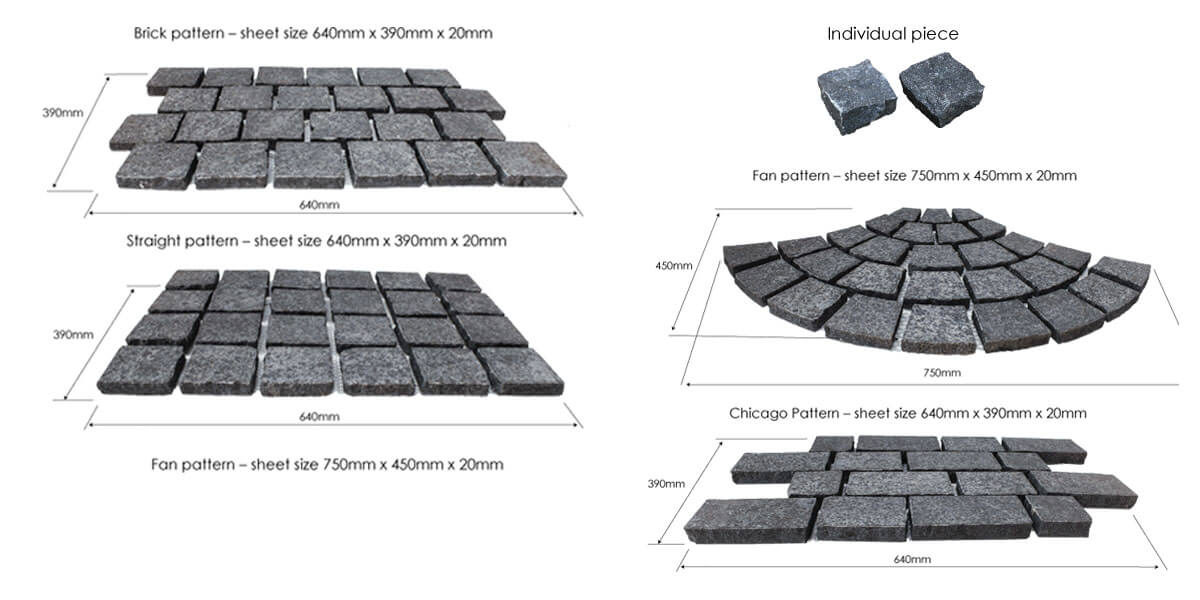
What Patterns do Cobblestones Come in?
Cobblestones are available in a wide range of styles. These include the Chicago Pattern, Herringbone Pattern, Brick Pattern and Straight Pattern. They are also available as loose individual pieces which gives you the chance to create your own unique design. Below are some examples of how you can arrange cobblestones to turn your outdoor space into a stunning feature for your home.
How to Lay Cobblestones on Mesh?
Generally speaking, all cobblestones that are on mesh backing of 20-30mm thickness, are to be laid on a cement base. Depending on where and why you are installing the cobblestones, installation methods may vary. As such, we strongly recommend consulting your professional contractor to confirm the exact thickness required for the concrete slab.
For example, when laying cobblestones for driveways, it is recommended to install them on a reinforced concrete slab that is 120 mm thick.
Cobblestones can vary by 3 – 4 mm in size and/or thickness. All meshed back cobblestones must have a tolerable thickness and size variation of +/- 2mm. Cobblestone pavers with a split finish have more flexibility in size and thickness because of the split factor. It is important to consider these size tolerances during the installation process.
Sometimes the tradesman will need to manually adjust some individual cobblestones in order to maintain the correct heights. During installation, it is also typical to remove the odd cobblestone that has been broken during transportation.
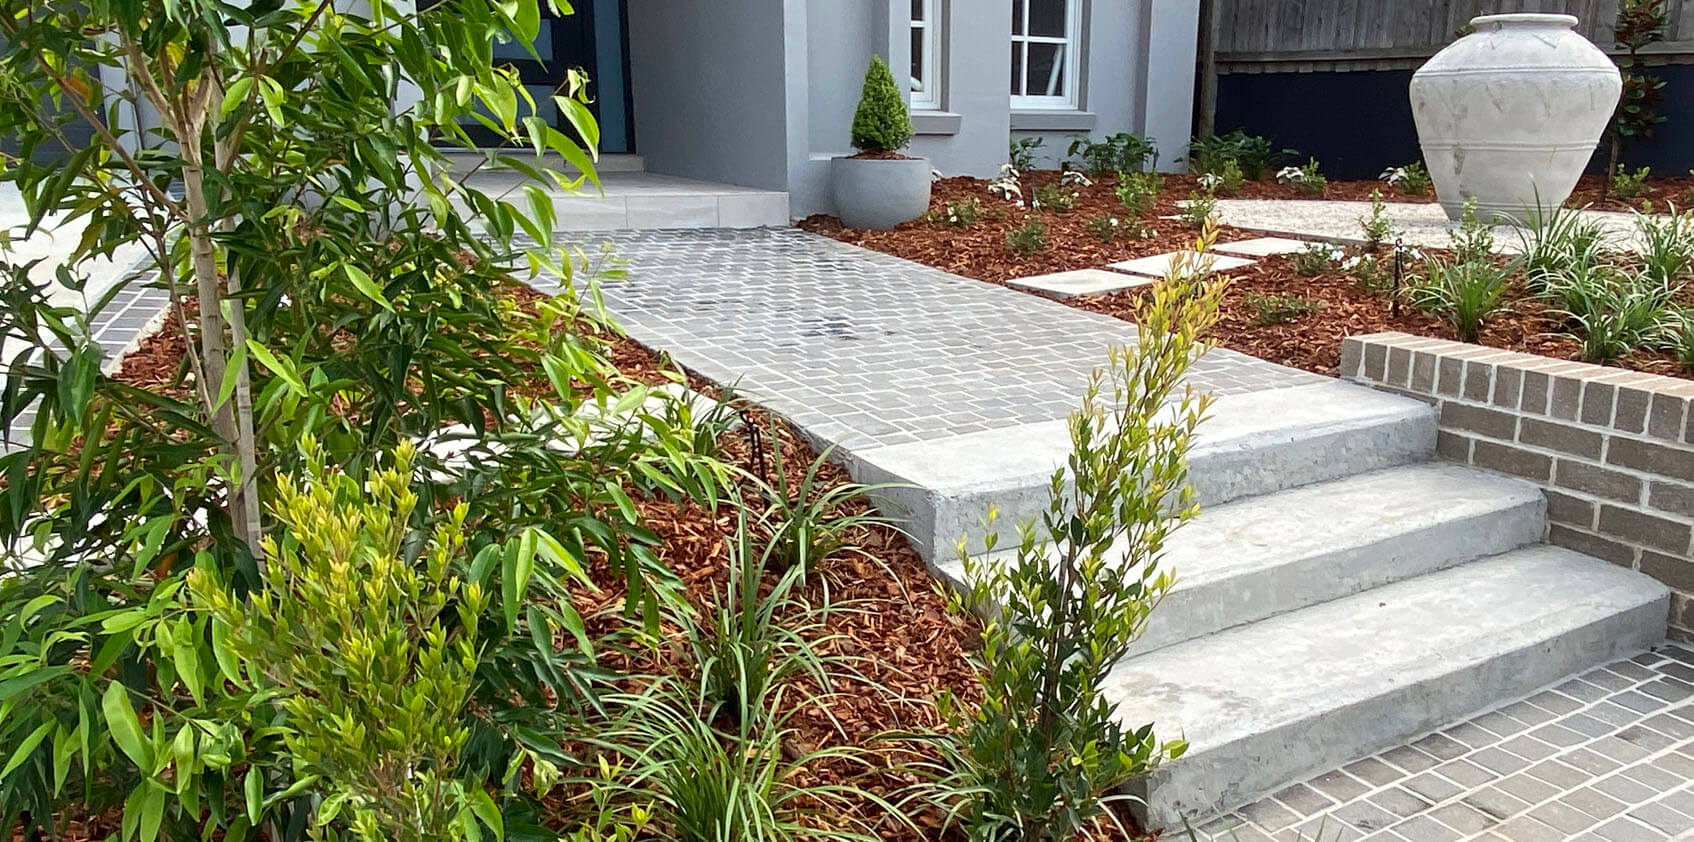
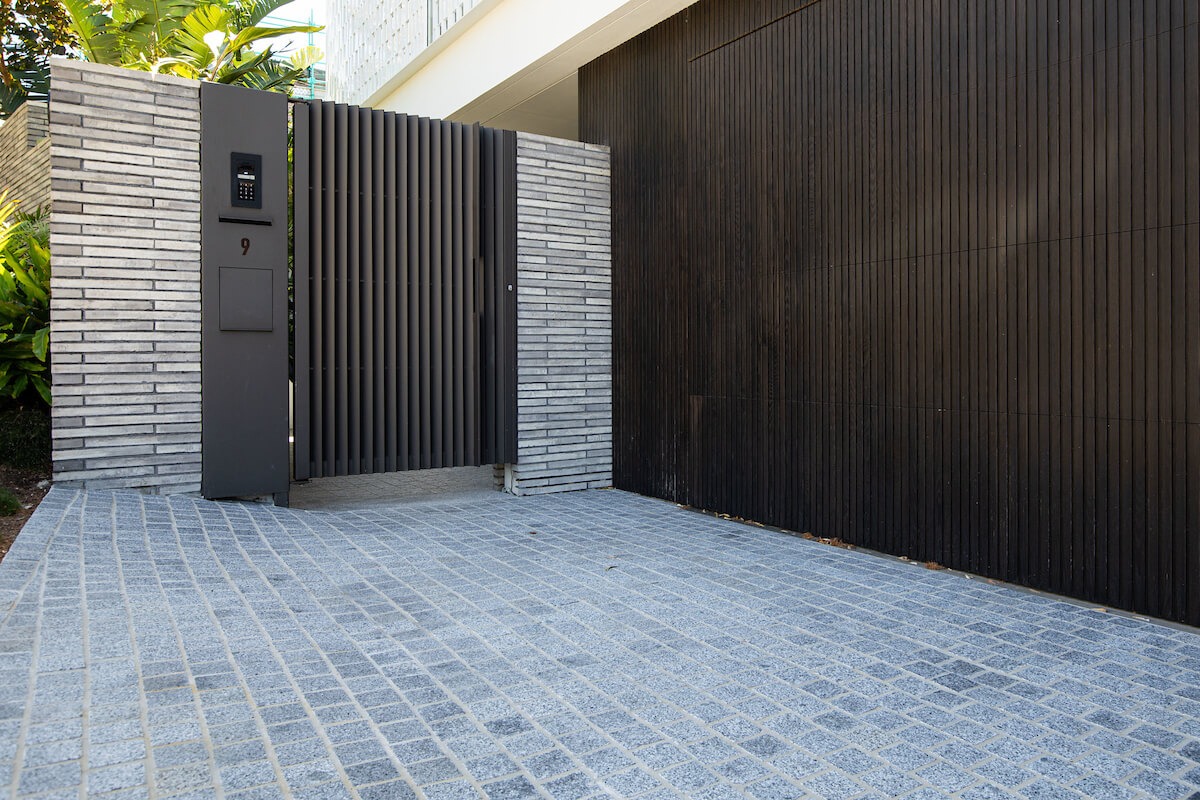
* Graphene Granite Cobblestones – Installed by Branch Out Landscape Design
If you want to create that traditional look with your cobblestones, you must use the appropriate installation procedure. This includes using the proper adhesives, grout, additives, sealers and pre-sealers. Installing cobblestones the right way will give your paving that “bulletproof” feel.
In this regard, meshed back cobblestones are easier and quicker to install, however you must use the appropriate adhesives (glue) and grout otherwise your cobblestones will fall apart and that will be costly and time consuming to fix.
When you get cobblestones with a mesh backing, they are held together on the mesh with an Epoxy Glue. The mesh backing, which is made of plastic, has holes throughout it so that when you apply the glue to the paving, it is able to adhere to the back of the cobble stone as well. Together, the plastic mesh and epoxy glue cover about 50% of the cobblestone’s back. This leaves another 50% of space free for the paving glue to stick to the cobblestone. To avoid the stone from debonding over time, it’s very important to use the right adhesive. Here we recommend a strong bonding and fibre reinforced ‘Non-Slump Adhesive.’
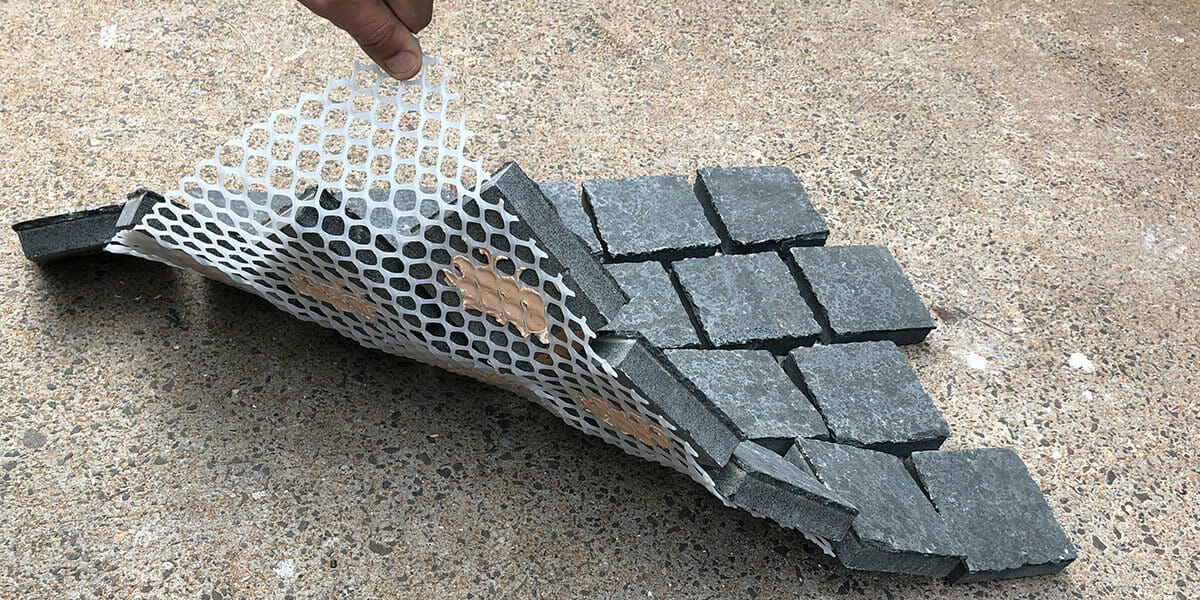
If you want your cobblestones to stand the test of time and stay glued to the cement, using only a stronger bonding glue is simply not enough for mesh backed cobblestones. Let’s say that your car is parked in the driveway and you turn the steering wheel while it’s stationary. The rubber tyres will grip onto the cobble and just as you are rotating the wheel, the tyres will physically rotate the stone. If you repeat this overtime, it will cause your cobblestones to debond.
In order to avoid debonding and increase the strength of adhesion, we suggest you apply a thicker amount of glue in comparison to installing other ordinary stone pavers. Use a notch trowel that’s 15mm in width and apply it all over the concrete slab prior to installing the meshed cobblestones. When you place the cobblestones on top of the glue, keep 10mm of space free for the grout. This means that you will have 5mm of glue under the cobblestones and 10mm of glue around the edges of the cobblestones. This will ensure that all 5 sides of the cobble are somehow glued and joined to another material.
The above method of adhesion is recommended for heavy traffic areas like driveways that are exposed to more weight and vibrations. If, on the other hand, you are installing cobblestones for an entertainment area that will only be exposed to foot traffic, you can get away with a more ‘light’ installation method.
Now that we’ve reviewed the correct way to adhere meshed cobblestones, let’s check out the best products for the installation process.

If you are installing cobblestones for an entertainment area that will only be exposed to foot traffic you can get away with a more ‘light’ installation method, however if you are planning for a driveway you will need what we like to call ‘heavy-duty’ installation products as this area will take a lot more weight and vibrations than an area only exposed to foot traffic.
RECOMMENDED INSTALLATION PRODUCTS
Adhesive:
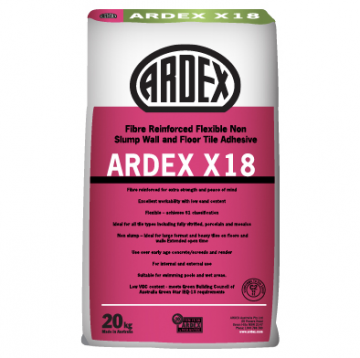
Depending on the area, we recommend different adhesives.
- For installation on footpath area, we recommend a Fibre Reinforced Non-Slump Adhesive like Ardex X18.
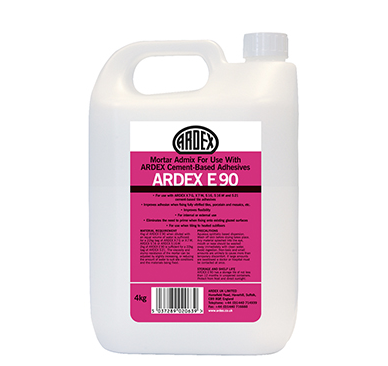
- For driveways, we recommend the adhesive Ardex X18mixed with the Ardex E90 Here the mixing ratio must be: 1 x 20kg bag of Ardex X18 + 2L of E90 + 4.5L of water.
Grout
The recommended grout for cobblestones is Ardex WJ50 Sanded Grout mixed with an Ardex Grout Booster.
Ardex’ WJ50 is a water-based, synthetic polymer grout additive, designed for gaps that are bigger than 3mm. It improves the strength of adhesion, flexibility and resistance to abrasion.
Grout Booster is added to assist with the grout’s flexibility and also helps reduce efflorescence.
The best mixing ratio is 1 x Ardex WJ50 grout to be mixed with 2L Ardex Grout Booster + 2L water.
Sealers
Pre-sealing and top-sealing your cobblestones is crucial to increasing their longevity and ensuring a cleaner installation process. Pre-sealing cobblestones helps clean off any excess grout or ‘grout haze’ without using stronger acidic cleaners that can damage the stone. You may use a pre-sealer like the Aqua Mix – Pro Block, which is an economical, natural-look, breathable, water-based penetrating sealer.
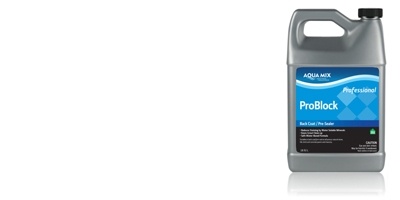
It is designed to resist staining caused by water-soluble minerals. It also helps resist efflorescence migration. However, ProBlock is not an adhesive bond breaker.
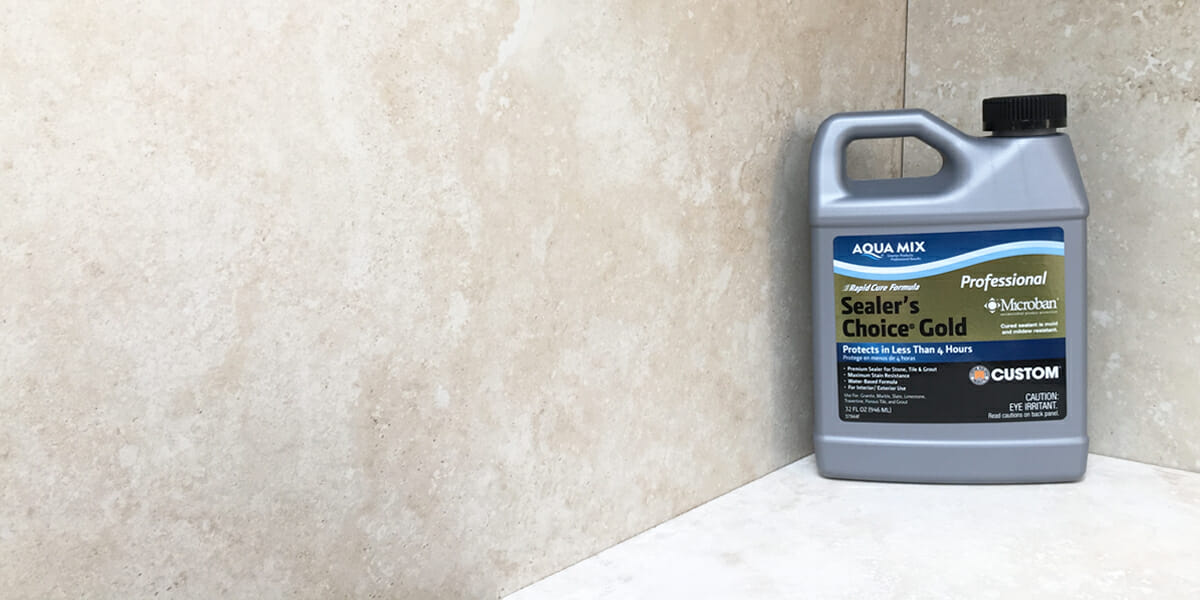
Once you have glued, pre-sealed and grouted the cobblestones, the top sealer provides the ‘final touch’ to the overall aesthetic. A sealer like Aqua Mix Sealers Choice Gold is a premium grade, high performance penetrating/impregnating stone, tile and grout sealer and will help protect your stone. It has built-in Microban® – Cured Sealant and is Mould & Mildew Resistant and will last up to 15 years.
What is the Cost of Installation Materials for Cobblestones?
The answer to this really depends on your project and its unique specifications.
So what we will do is give a quote sample and then show the cost of materials per square meter.
Quote sample for 40m2 of the 100x100x20mm meshed cobblestones:
| Description | Quantity | Unit Price |
| Ardex – X18 Adhesive 20kg (each bag to be mixed with 2.0L of Ardex E90 + 4.5L water) | 10 | $45 |
| Ardex – E90 Additive 3.6kg(4.0L) | 5 | $75 |
| AquaMix – ProBlock – 3.8L Pre-Sealer, Specialty Water-based Pre-Sealer | 1 | $110 |
| Ardex – WJ50 20KG Grout (Each bag of Ardex WJ50 to be mixed with 2.0L of water + 2.0L of Grout Booster) | 14 | $36 |
| Ardex – Grout Booster 4.0L | 7 | $55 |
| AquaMix – Sealer’s Choice Gold 3.8L Premium Water-based Sealer, Rapid Cure Formula, Mould Resistant – Top Sealer | 1 | $360 |
| Delivery | 1 | $135 |
Total: $2305 |
||
| Taking the above, we can say that you will spend approximately $58m2 on installation materials per square meter of meshed cobblestones. |
* Gris Granite Cobblestones on mesh
Conclusion
All in all, cobblestones are an exceptional way to decorate your home, garden or driveway and bring a world of value and timelessness to your pavements.
Whether you need the cobblestone pavers to suit light or darker landscapes, they are available in a plethora of styles and materials such as Granite Cobblestones, Porphyry Cobblestones, Quartz Cobblestones, Basalt Cobblestones and Limestone Cobblestones. The entire range of Cobblestones can be views here
At Armstone, we recommend consulting your professional installer prior to choosing the cobblestones and ensuring you have everything required for their individual needs.
Hopefully, this article helped you understand the correct installation methods and best materials to use when working with meshed cobblestone.
If you need any help, feel free to call us or send an email.
We love this stuff and are happy to answer any questions.
PS. Below video will help you understand why is it important that your trusted stone suppler works closely with Installer.

